Sony Mavica FD91 CCD transplant
Last year I bought a Sony Mavica FD91 camera, which is a weird old digital camera that stores its six images on a floppy drive. However, the person who sent it did not package it properly and DHL absolutely smashed it during transit. The screen was broken and the lens barrel was horribly bent. As I picked it up, a few SMD resistors fell out of the body as well. I really feared that it was properly busted, but nearly all functions were intact. The biggest issue was the smashed front LCD which bothered me to no end. Until I found a second untested FD91 for a very affordable price.
Thank the gods for manuals
Last year, I disassembled my FD85. It really was a breeze, and by undoing six screws and a cable clip I was already able to remove the CCD unit. I was expecting the FD91 to also be this easy. Preliminary inspection of the FD91 revealed a mess of ribbon cables, fragile connectors and annoying body parts. I really did not want to disassemble it further than the screen because I did not expect I was able to reassemble it again.
Having tested FD91-2, it appeared that the CCD unit was defective since it yielded only magenta images, which is indicative of a malfunctioning green channel. I decided that I should not postpone this honestly terrifying repair and just get on with it.
Making things easier on myself, I found a FD91 service manual online which improved the process significantly!
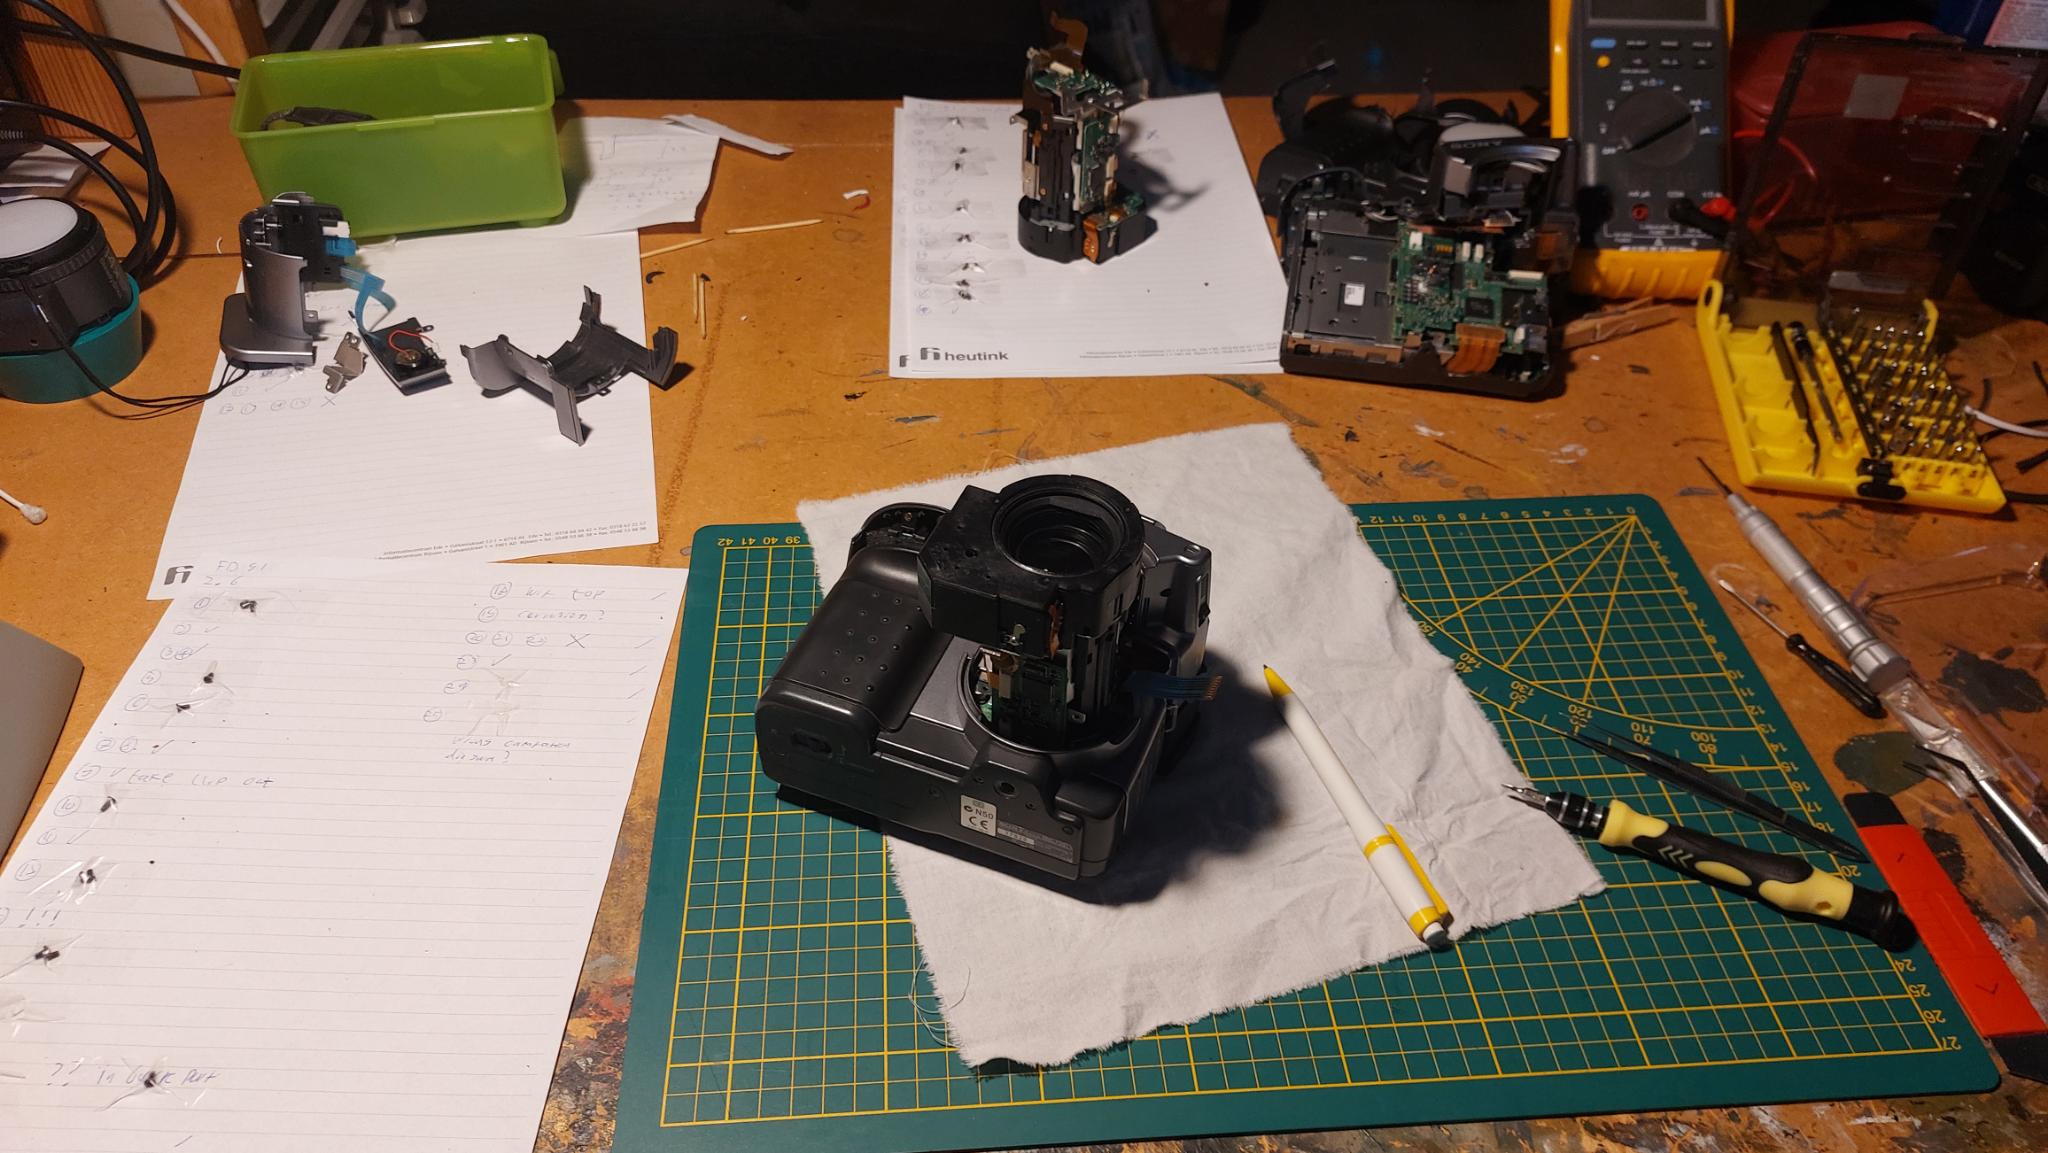 Taping the screws to an annotated piece of paper with the step numbers on it was a very nice workflow.
Sony really had some nice service manuals, these are exceptionally clear and I was able to disassemble both units in an hour or so. The most awful things were the removal of the flexible ribbon cables and the bottom lens barrel cover; you have to make a very unintuitive turn-and-pull-and-pivot motion while simultaneously watching a fragile ribbon cable so it doesn’t get obliterated by the force needed to do this motion.
This is also the section where the most damage was done to the PCB, check it out:
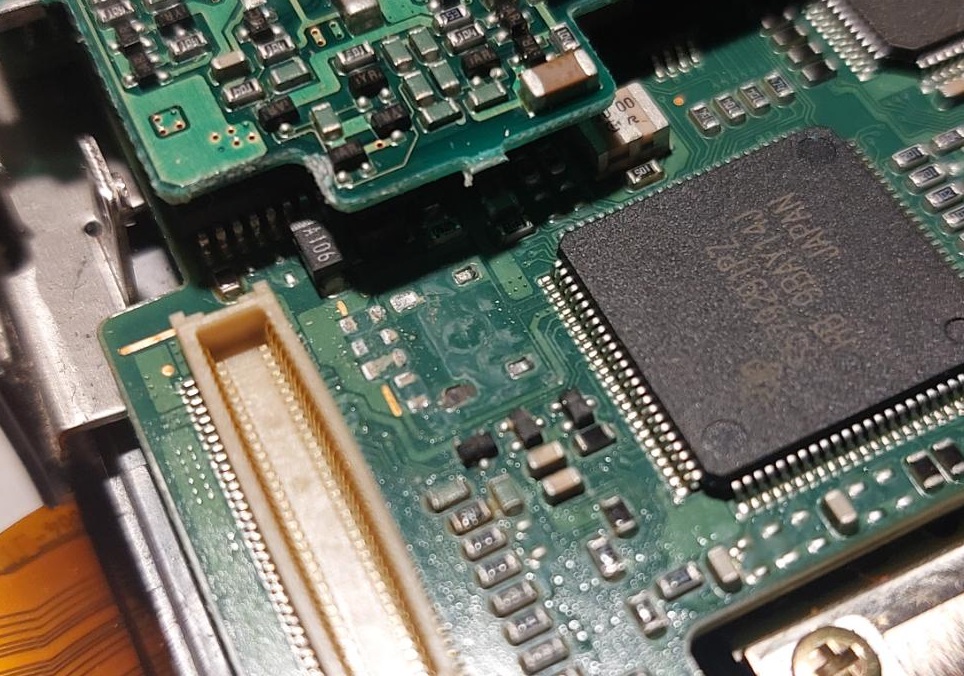

The camera survived quite a hit:
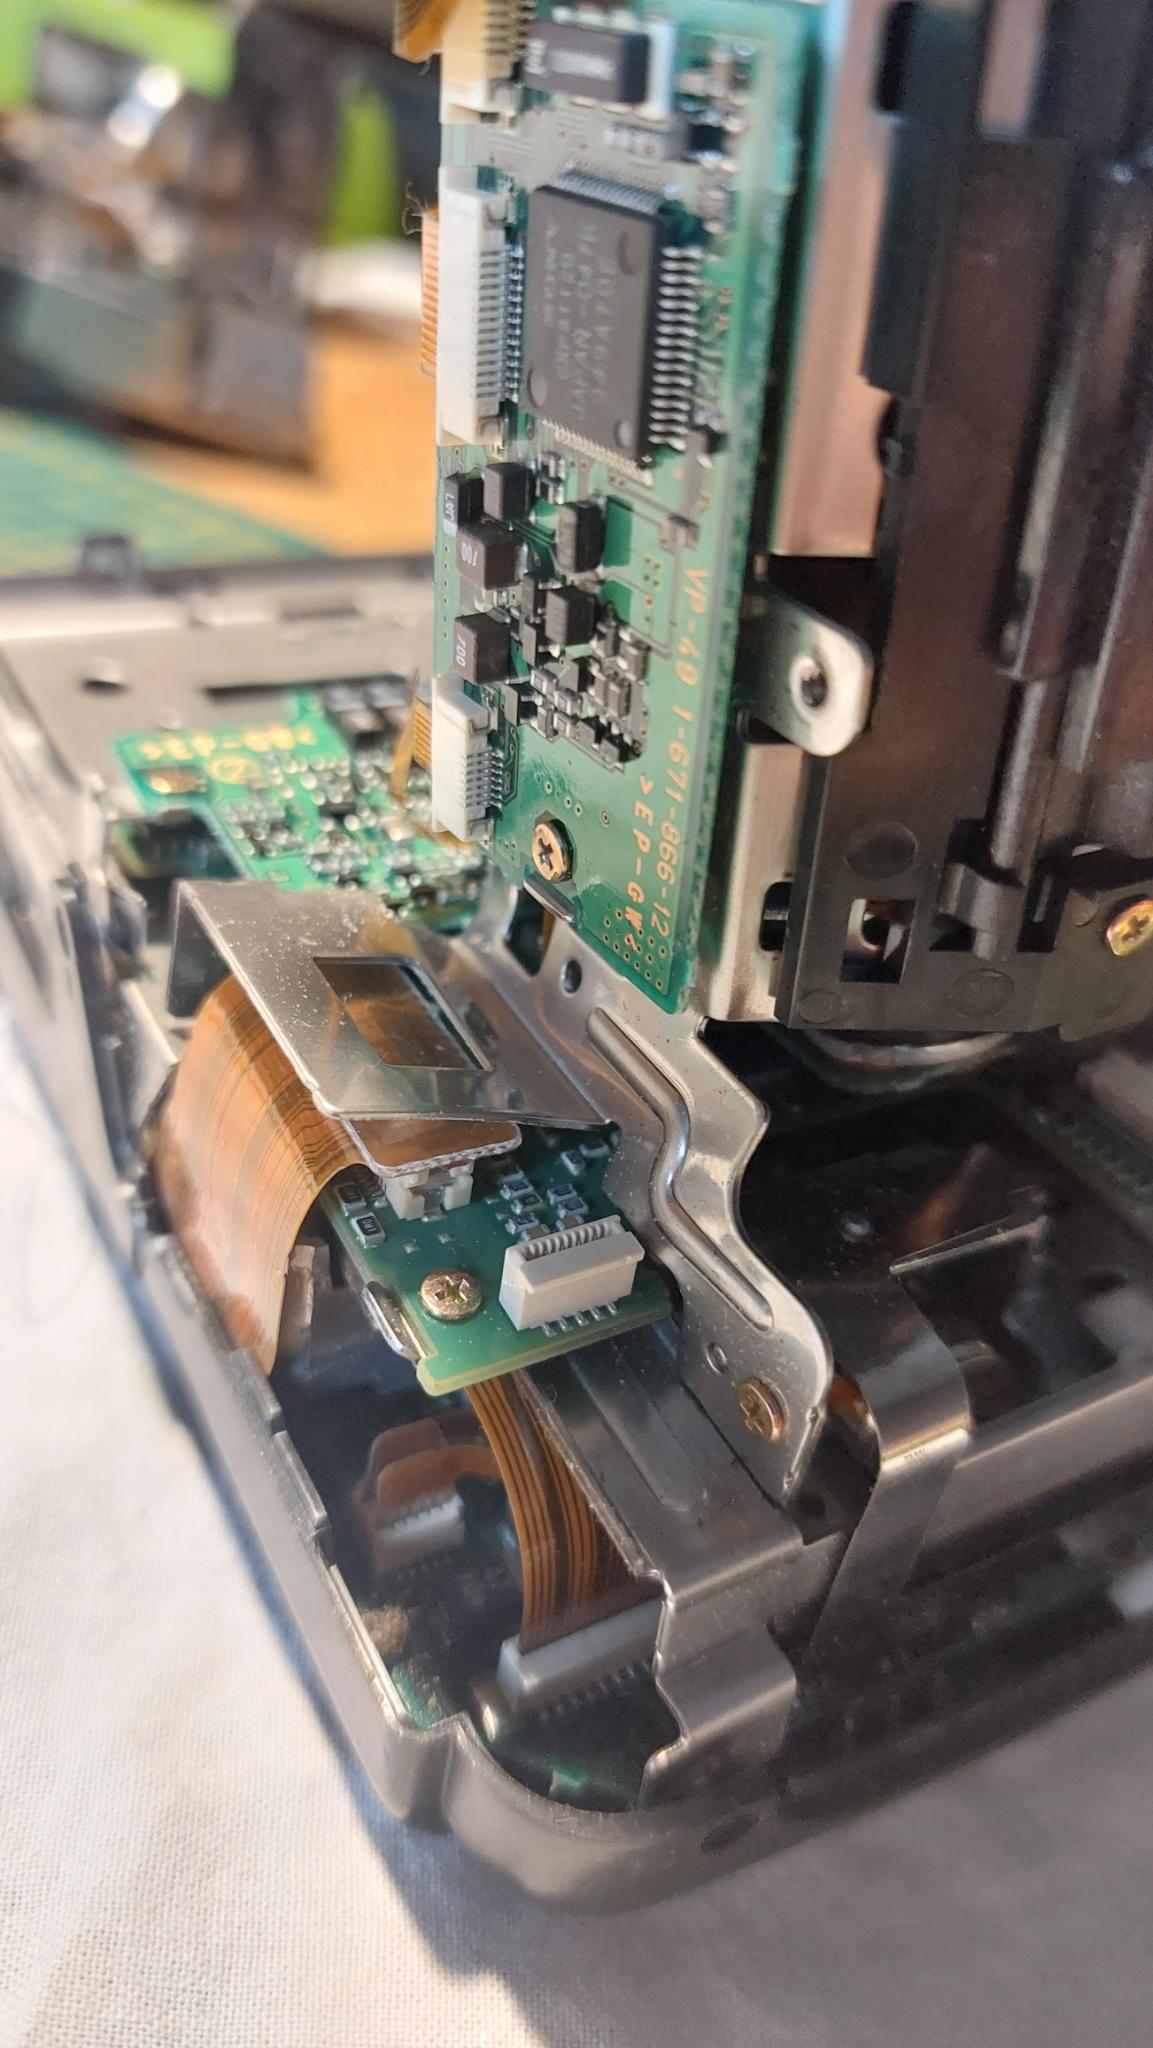
No idea why the thing kept working. Reaching the CCD was a lengthy operation, but I persevered:
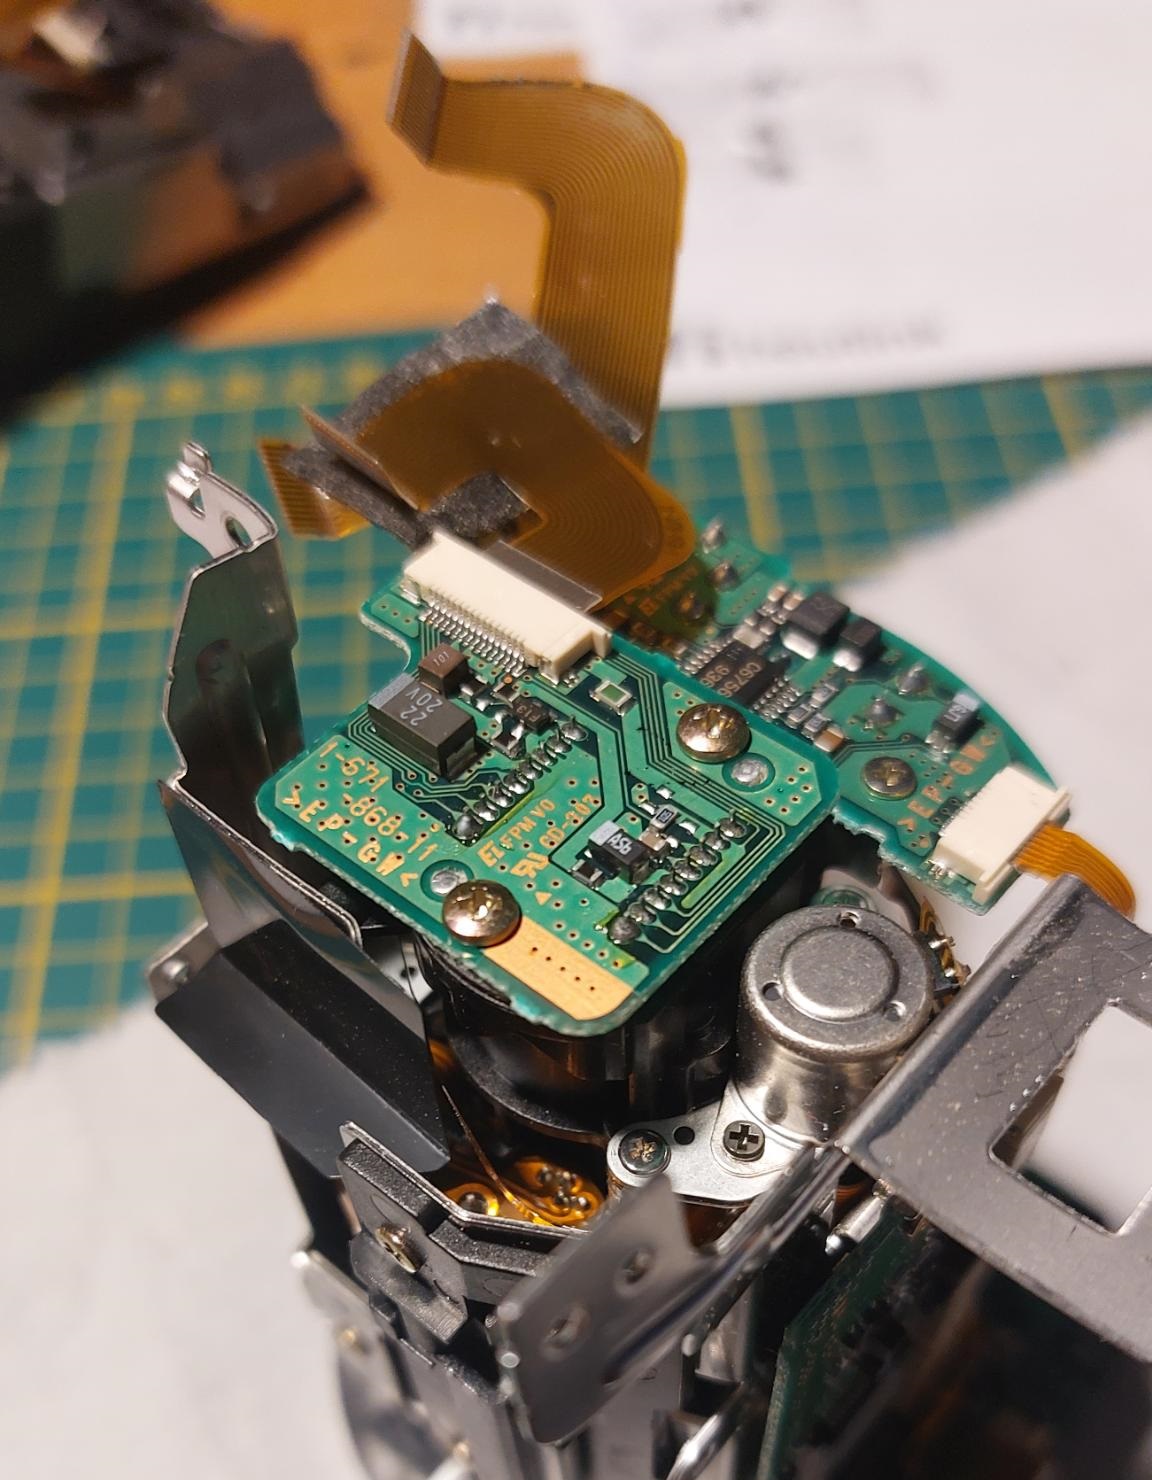
Finally. After a reassembly which was made extremely tricky by virtue of four flexible ribbon cables, we have a live, complete FD91 again!
Some photos
Turns out, no one really stops you from walking through the HTC. Although it does feel a little too clean at times, there are some nice pictures to be taken.
 SOOC.
SOOC.
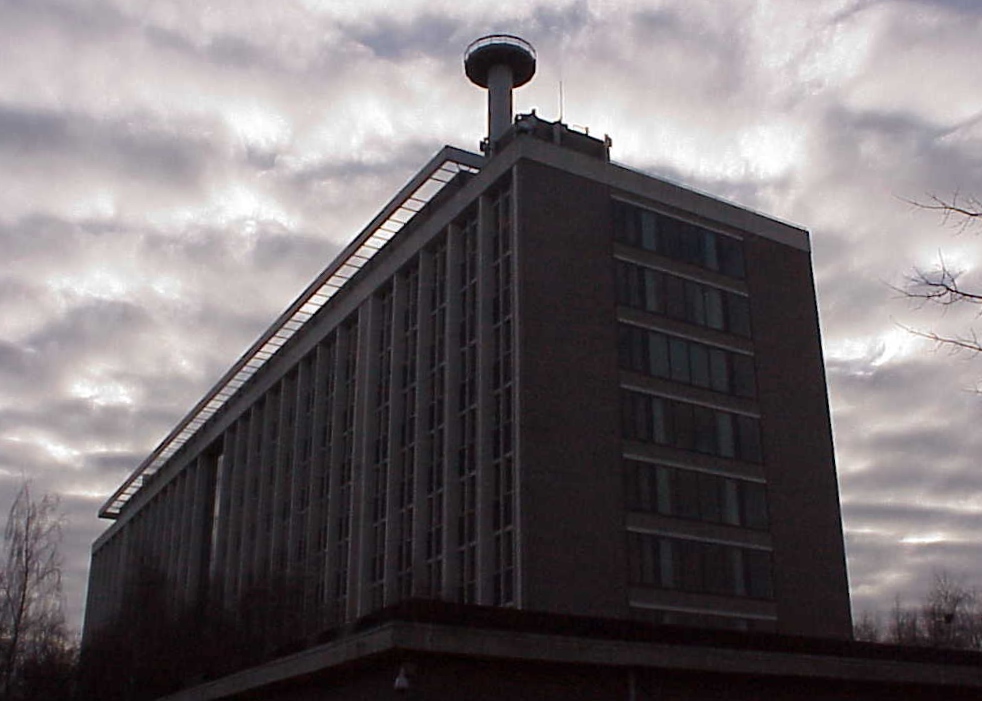
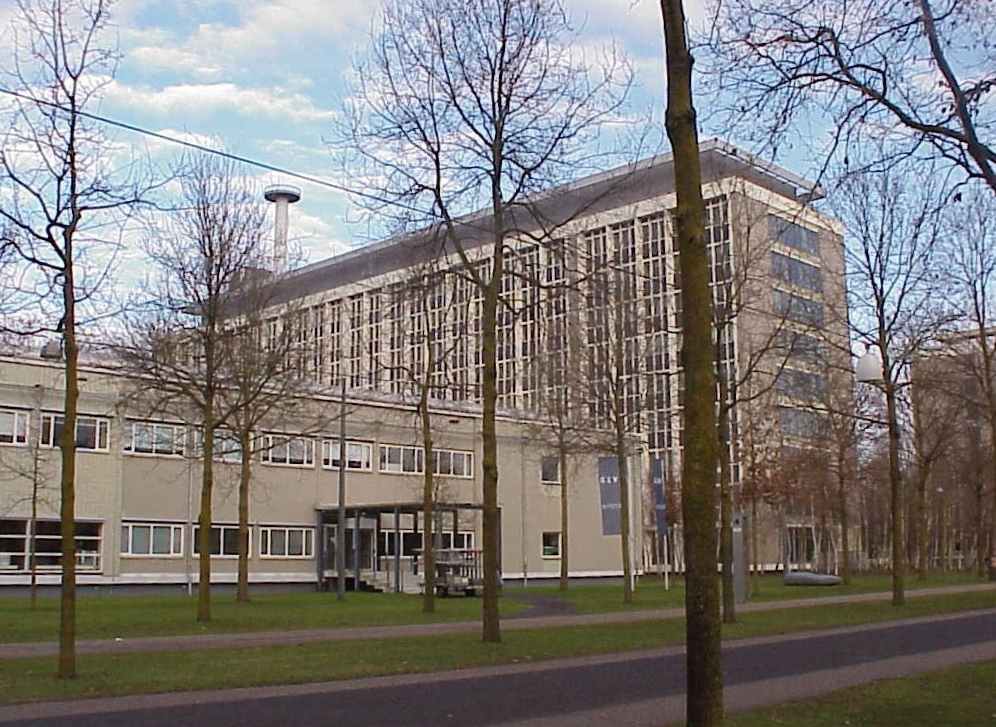 Sony FD91. Rotated and cropped.
 Sony FD91. Rotated and cropped.
 Sony FD91. Rotated and cropped.
The FD91 is really not the best at architecture; the lens has quite some pincushion distortion. Nevertheless, I was satisfied.